Ezo Spruce Maintainence

Ezo Spruce are one of my favorite trees grown as bonsai. Ezo are found growing north of Japan on the island of Sakhalin. This island was once part of the empire of Japan but was annexed to Russia after World War II. Prior to WWII the collecting of Ezo was promoted by the late Saburo Kato and his father Tomekichi of Mansei-en . Despite the many qualities of Ezo Spruce for bonsai, mature specimens are not commonly seen in the U.S.

Saburo and Tomekichi Kato with collected Ezo Spruce, circa 1930’s
(Photo from Thomas S. Elias’
“Mansei-en and the Kato Family: Part One” article, pg. 16)

One reason for the lack of Ezo in the U.S. is that Spruce are prohibited from being imported into the country with a few exceptions.The other reason is that even though Ezo can be propagated by cuttings they grow very slowly so mature Ezo bonsai are rare in North America.

One place you can see specimen Ezo bonsai is here at the  Museum . Our three Ezo bonsai  do not begin to push new growth until late May and are some of the last to come out of winter dormancy. Trees found growing in very cold climate  have developed this trait to  ensure their tender spring growth is not damaged by late frosts.  The way we handle their new growth consists of pinching new growth and cutting back where possible.

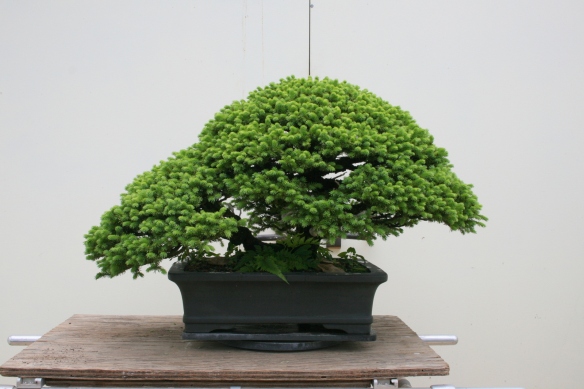
IMG_9354

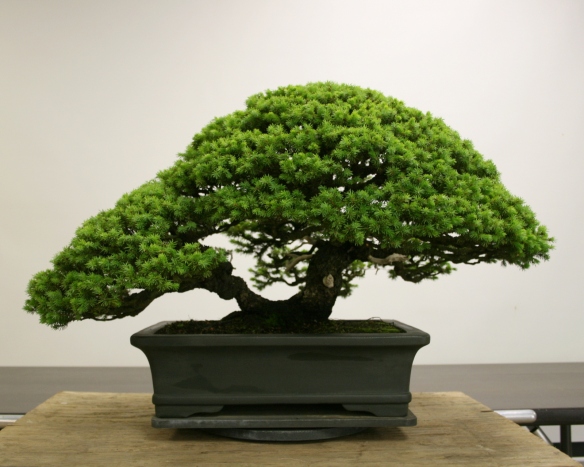
This Ezo is flush with new growth and ready for pinching.

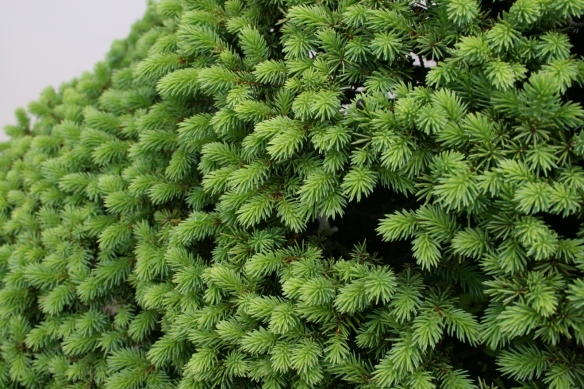
IMG_9355

Timing is everything in bonsai and there is a specific window of opportunity to pinch Ezo. This image shows the ideal time to pinch the new growth. The buds have elongated enough to pinch but have not started to harden off.

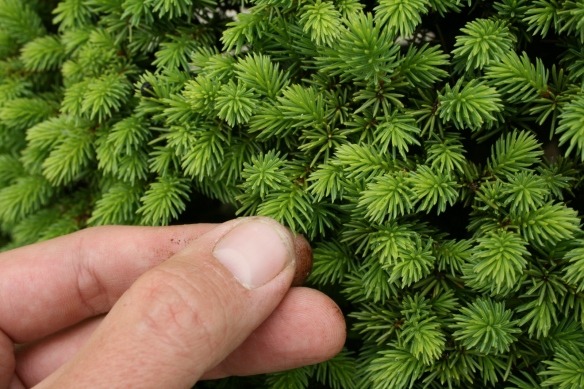
IMG_9356

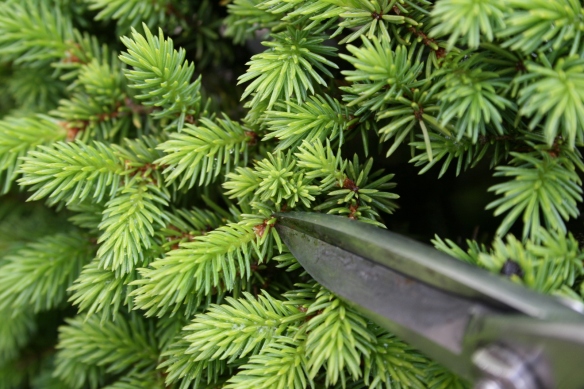
Simply pinch the tip of the new shoot  and pull.

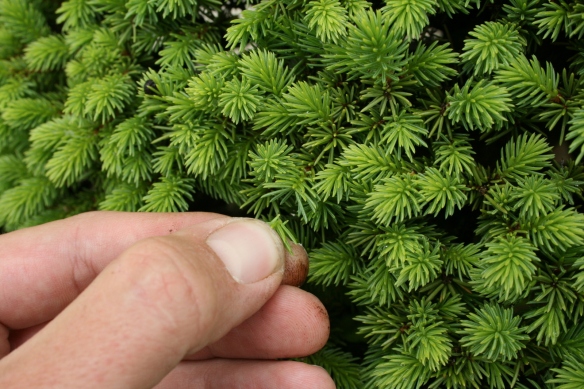
IMG_9357

Make sure to leave a portion of new growth.

IMG_9359

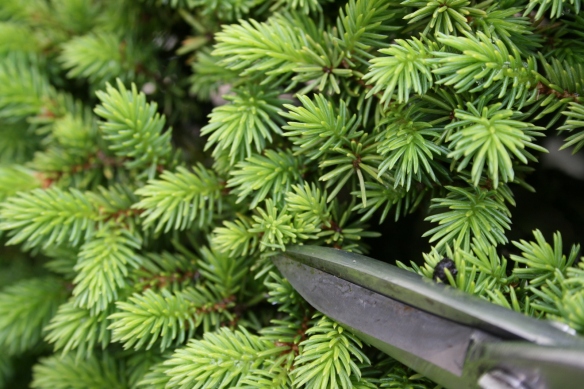
Selective pruning is also essential in maintaining Ezo bonsai.

IMG_9360

Prune back to smaller buds when possible so that the trees stays compact and energy is balanced throughout the tree.

IMG_9355

Before pinching and pruning

IMG_9367

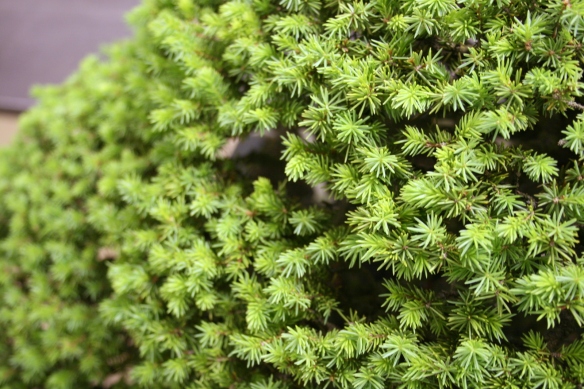
The same section after.

IMG_9370

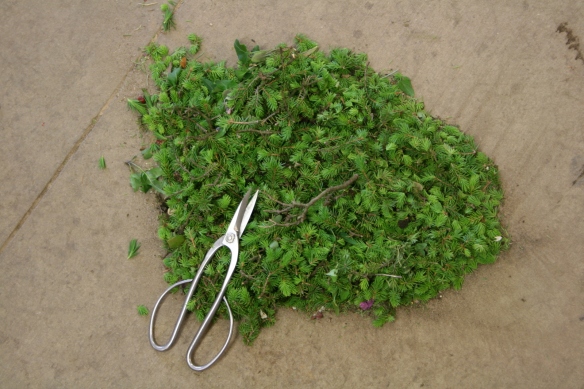
The total amount of material removed as well as few small  faulty branches.

IMG_9354

Before we began

IMG_9363

and the finished product.

Bonsai grafting- scion technique

The ability to cut a piece off of a plant and then reattach (graft) it back on to itself or another tree is nothing short of miraculous. Grafting is an invaluable technique in bonsai as it allows the artist to determine the location of each branch on the tree. It also allows the artist to replace the foliage as I talked about in an earlier post on approach grafting.

The success of a graft depends on two things, proper technique and proper aftercare. I’m always trying to understand both of these aspects better and had the opportunity to ask bonsai pro, Ryan Neil about his grafting technique.

Ryan Neil @ Nature’s Way 2.0

Earlier this year I wrote about a work shop with Ryan Neil at Nature’s Way Nursery in Harrisburg, PA. Recently Ryan was back for another round of classes and this time I came with a video recorder.  The first video contains, in Ryan’s words, a “crash course” in Japanese Black, Red, and White pine care. I’ll be posting another video of Ryan explaining his grafting techniques.

Post exhibit clean up

All good things must come to an end. The bright reds of autumn have faded into drab browns signally the approach of winter. Once a bonsai has past its peak of fall color it needs to be cleaned up before we put it into winter storage.

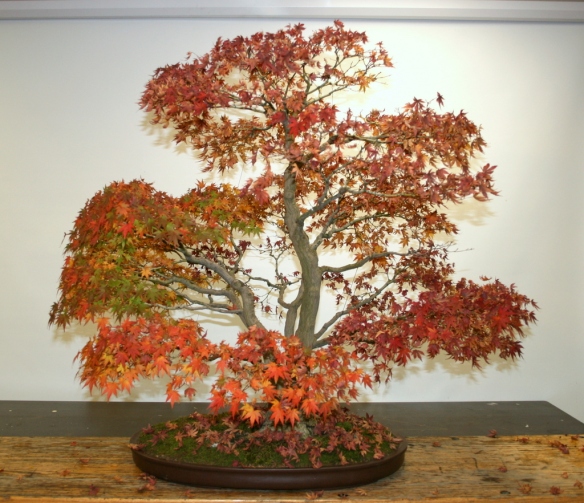
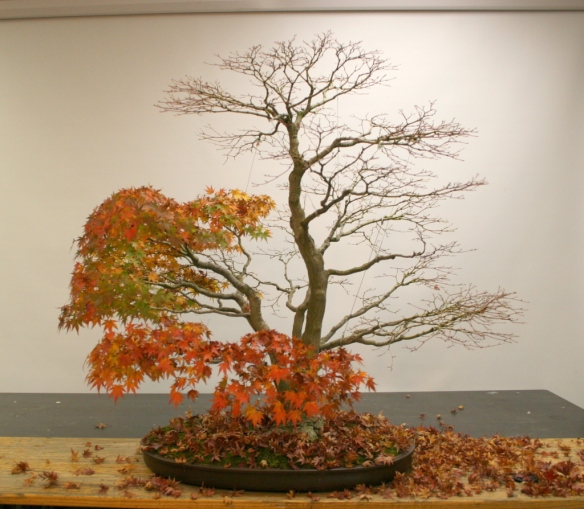
This Japanese Maple is one of my favorite trees and always looks great in the fall. To keep it looking good, the foliage needs to be cleaned up. The leaves on the main trunk are already brown and falling off, while some of the leaves on the secondary trunks are still green. With mutli-trunked bonsai its common to see this variance between the trunks.

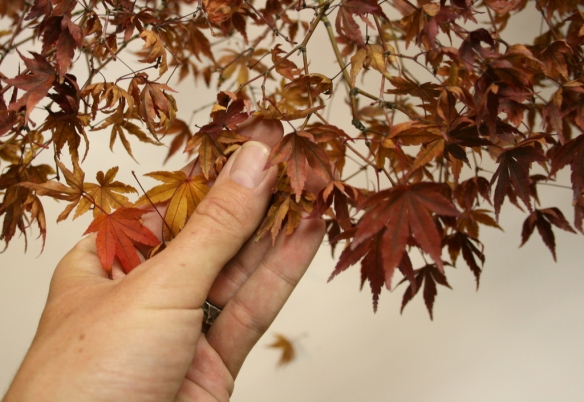
The leaves on the main trunk are brown and dry. Leaves at this stage can be plucked off with very little effort.

The leaves should come off by gently plucking them with your fingers.  If you encounter any resistance while pulling you will need to cut them off with scissors.

Within a few minutes the main trunk is devoid of leaves.

Some of the leaves on the other trunks are green and cannot be plucked without the risk of breaking branches or buds. They will need to be cut off instead.

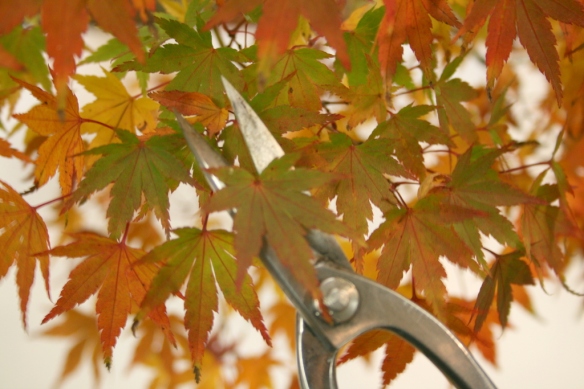
When cutting the leaves make sure to leave a portion of the petiole or leaf stem.

A finished branch. The petioles will fall off in a few days

All the leaves have been removed and now we can fully appreciate this tree’s branch structure.

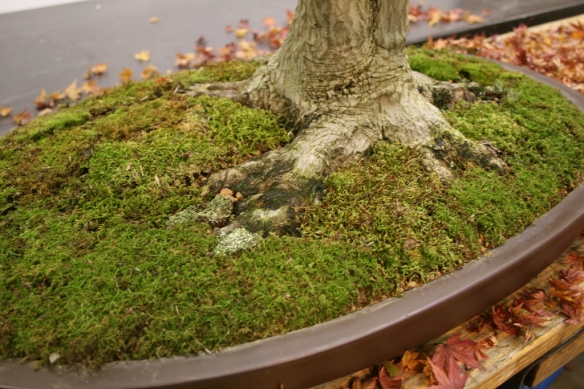
The soil surface of each bonsai exhibited was covered with moss in accordance with proper bonsai display etiquette. Once the exhibit is over, the moss is removed so that the soil does not stay too wet during the winter.

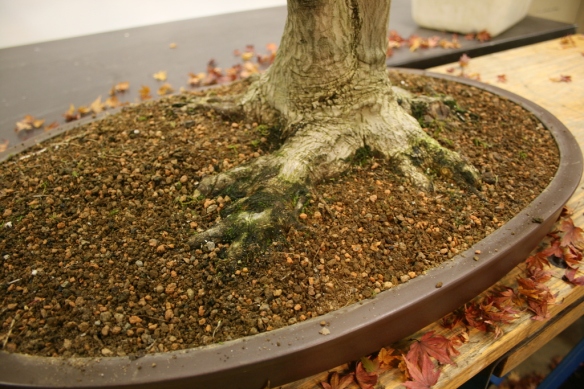
With the moss removed, the tree is almost ready to be placed into our Chinese Pavilion where we overwinter the majority of the bonsai. The last thing to do is scrub off any green algae with a toothbrush and water.

Removing old leaves and moss from trees before being put in winter storage is a good habit. This level of care will help reduce the risk of harmful pathogens during the winter and give your bonsai a head start going into spring.